Treasured Books into Unique Purses
Carol Coleman. coleman.carol@gmail.com
Dayton Ohio ASG Chapter
http://sewingwithcarol.blogspot.com
I. Select book
II. Repair or cover damages, holes etc.
III. Remove pages with Exacto knife. Cut carefully. If a cut goes through the outside, cover with strong tape (gorilla or duct) on inside.
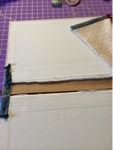
IV. Reinforce spine of book with foam core board or heavy cardboard. (See note later about when to glue in place).
V. Add decorations to outside of purse - especially if you need to conceal raw edges.
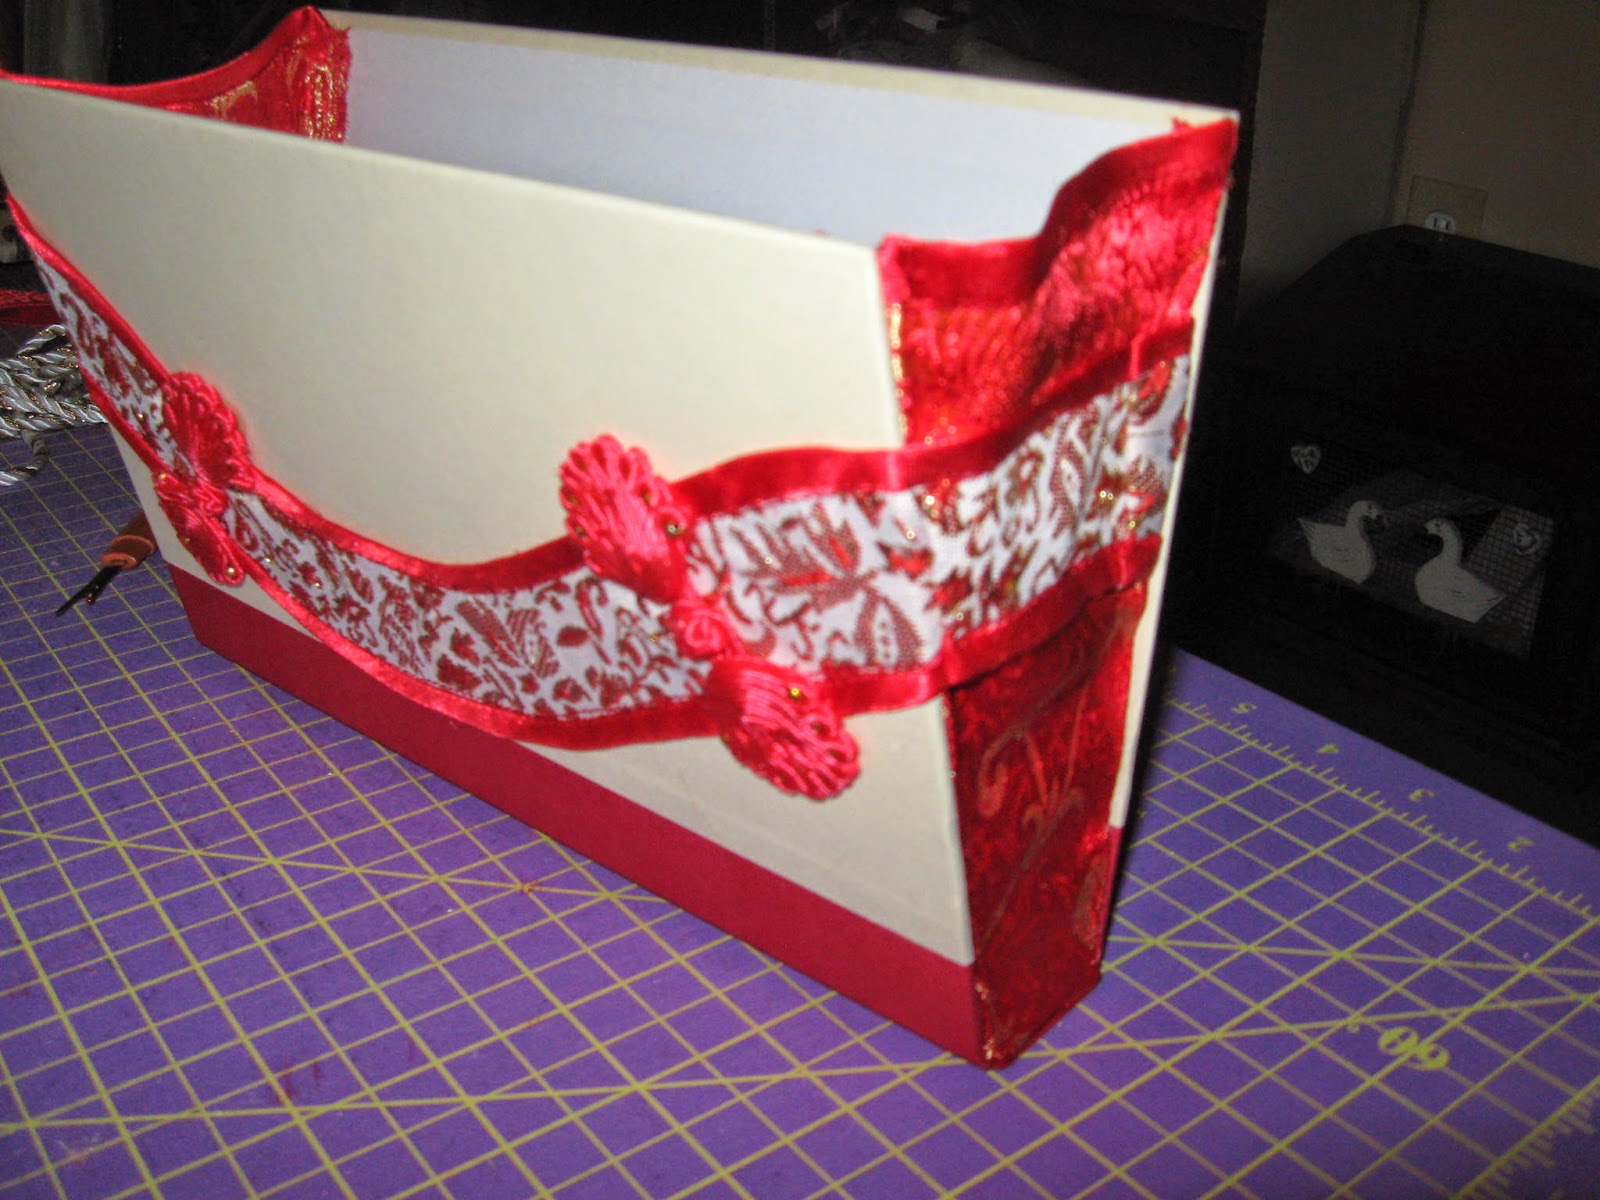
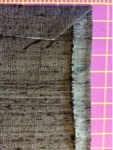
VI. Make wedge or ends for purse. Width at top (when opened) x width at bottom x height. Add 1/2" SA (seam allowance),folded edge at top or 2 layers stitched together if one-way design. Optionall: interface fabric. In matching thread stitch along SA, fold to inside and press well. Miter corners.
VII. Glue wedges to same side of book (ie. the front cover). Clip and let dry. Then glue bottom of wedge and other side (back cover).
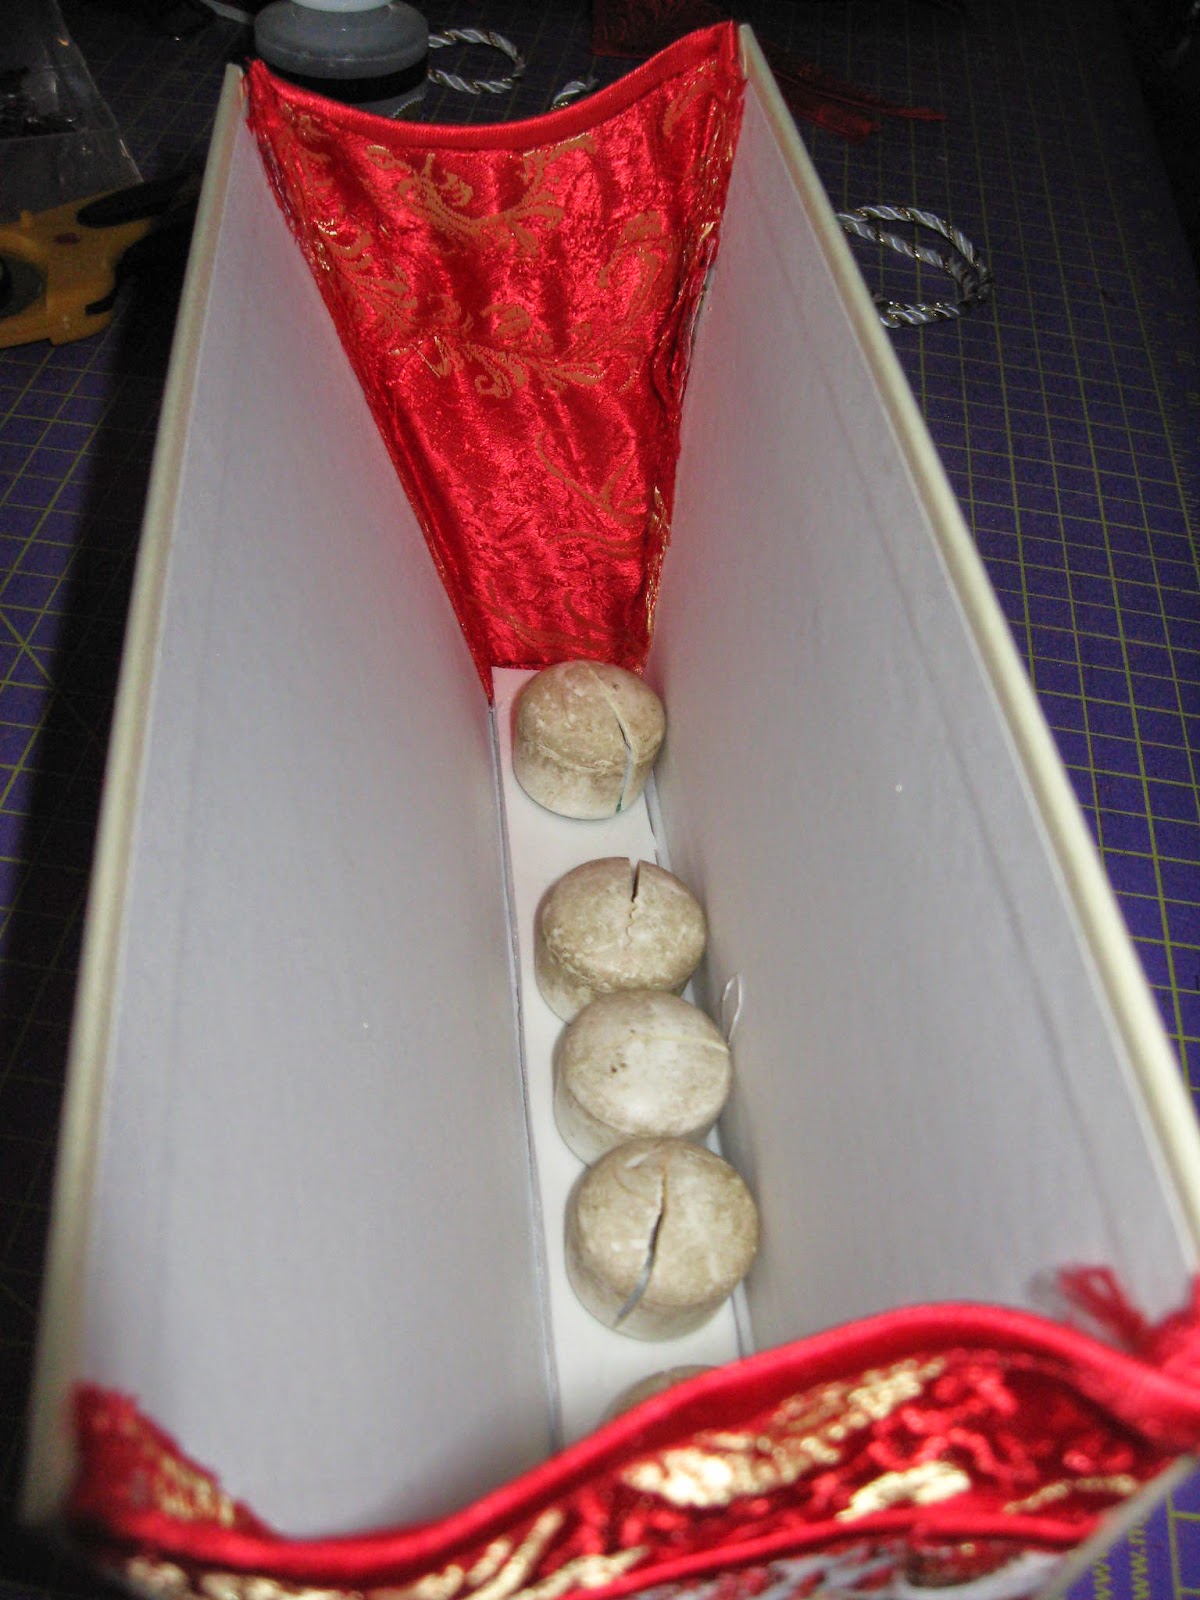
VIII. Add reinforcement strip at this time. Glue in place. Use weights to hold down.
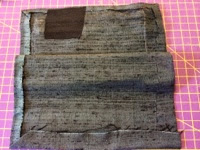
VIX. Lining. Take measurement of inside of purse - length x width and add 1/2" SA around edges. Stitch around SA in similar color . Press and miter corners by pressing. Pockets and handles are sewn onto the lining for extra stability. If using magnetic snaps, attach now.
X. Pockets - copy pocket designs from other purses.
One option: cut 2 rectangles. 1" x length of pocket desired and 2 - 4" (depending on height of pocket). Sew each strip to one side of zipper that is longer than length of pocket. Sew purchased bias tape around pocket/zipper unit, miter the corners, and stitch on the inside edge of the bias tape. Pin pocket to lining and stitch along outside edge (leaving top unstitched).
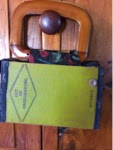
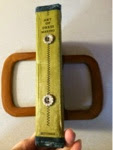
XI. Add handles of choice before glueing in place. Glue along top edge and down adjoining sides. Clip. When dry, glue along other top edge and sides. Clip. Touch up any glued areas as needed.
Have fun. Think outside the "book".
The Repurposes Library - 33 Craft Projects That Give Old Books New Life by Lisa Occhipinti has ideas for what to do with those cutout pages after you've read them.
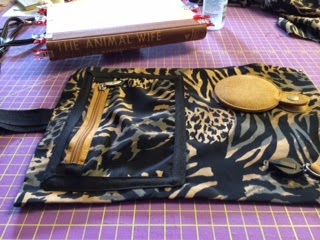
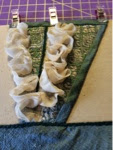
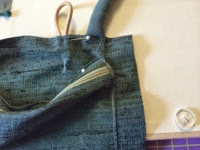
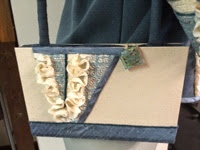
 Lining with zipper and handles from old purse attached.
 Seeing how the lining will fit in the purse.
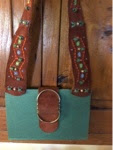
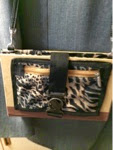
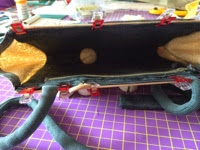
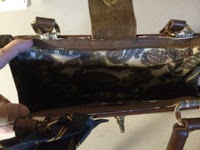 Inside view with lining attached.
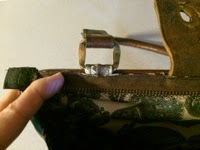
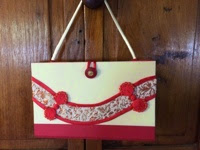
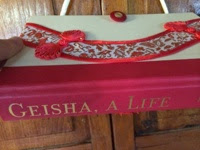
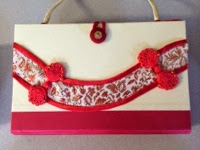
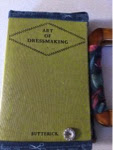
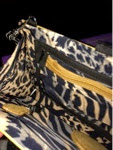
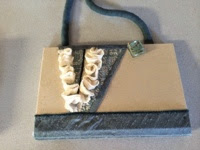
 Finish view of purse


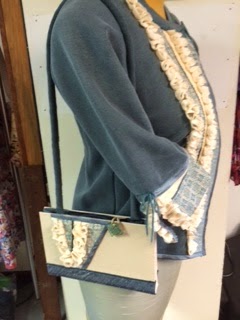


 Small child's dress with unique, sewn on panel.